Flatness measurement. Sometimes surface flatness really matters… either you are trying to break speed record at Bonneville salt flats like Dave Spangler or producing flat substrates and mirrors for high demanding applications such as Mersen.
Boostec® Silicon Carbide SiC is an advanced ceramic material that has been designed for the most demanding applications in Space & Astronomy, Laser processes, Semiconductor or Opto-mechanics. As high performance comes with tight requirements, constant optical metrology control is of utmost importance to ensure these are met.
Imagine Optic offers solutions carefully designed for R&D, production optical lab and at line metrology environments and users.

Flatness measurement of a polished SiC substrate measured with the OEC: surface figure error and Zernike coefficients are easily measured in real time.
Get a head start on your manufacturing process
The anufacturing process to obtain an optical quality surface counts many steps during which the part takes shape. In general, optical control can only take place at the end of this process, when the surface finish is eventually compatible with test instruments, such as Fizeau interferometers.
Shift up a gear with metrology systems from Imagine Optic for surface flatness measurement:

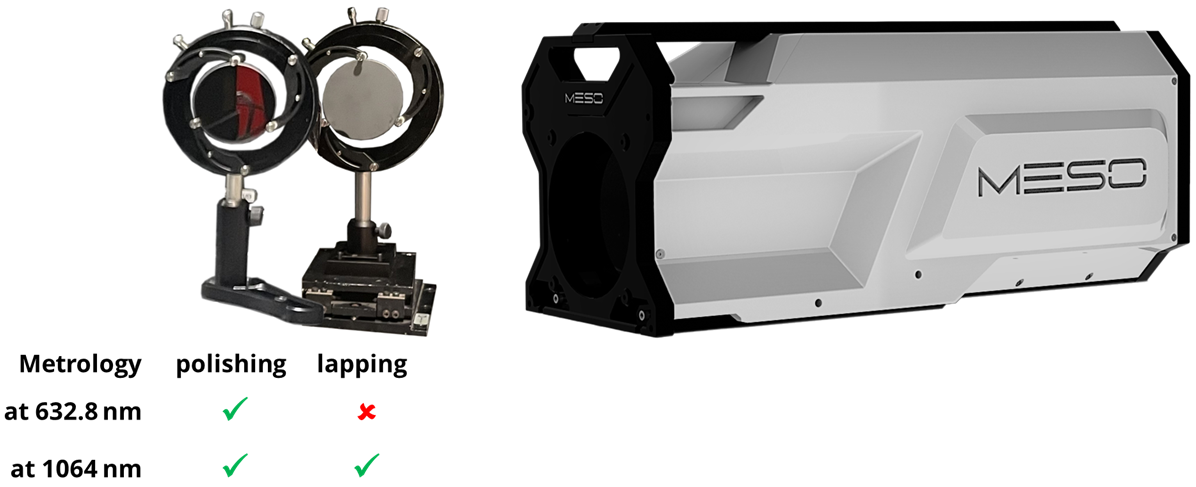
MESO instrument allows customers to add any wavelength (up to 3) to the conventional 632.8 nm. By switching the test wavelength to 1064nm, it becomes possible to characterize not only polishing surface finish but also lapping surface finish! and thus, to test parts sooner in the process, improve its efficiency and speed up the whole fabrication process!
3, 2, 1… GO!
Whether or not you race toward the latest equipment for your testing, we’ll be happy to discuss what solution best suits your needs. Reach us at sales@imagine-optic.com or through the contact form.

